Invite Team Members
Build your translation team by inviting members to your organization.
Before You Start
You need:
- Owner or Manager role in the organization
- Team member's email address
- Know which role they should have
Step-by-Step Guide
1. Navigate to Members Page
From your organization dashboard:
- Click on your Organization name at the top
- Go to Settings → Members
- You'll see the Members page with your current team and an "Invite Member" button
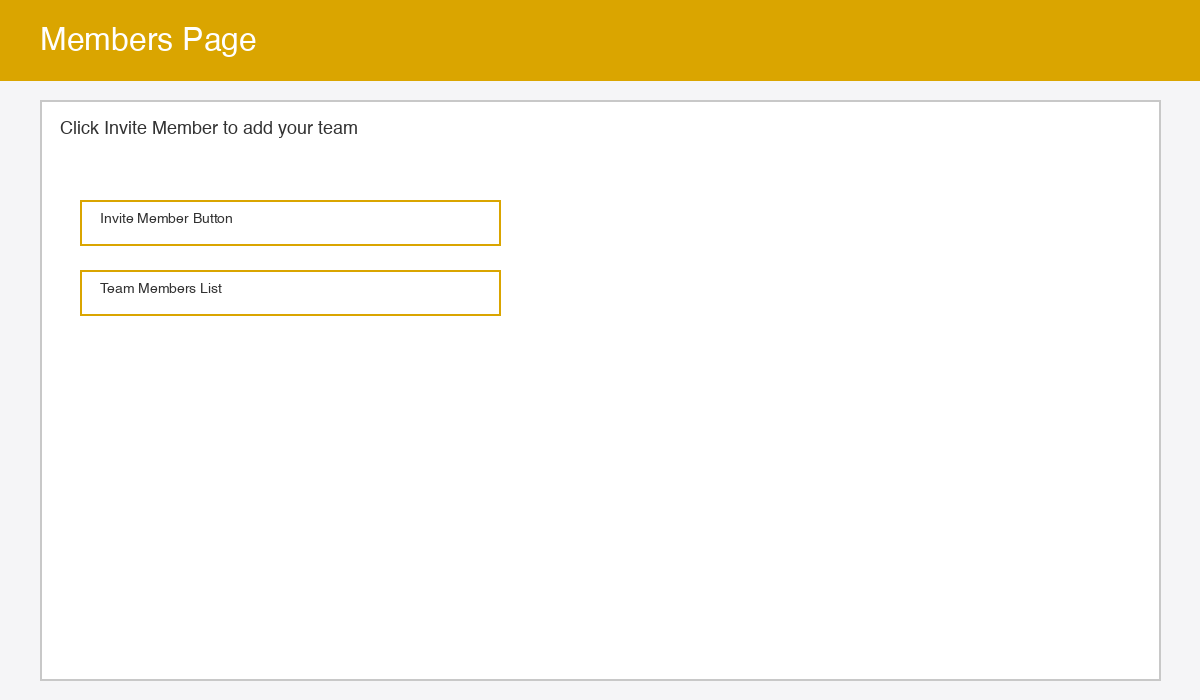
2. Click "Invite Member" Button
On the Members page, click the yellow "Invite Member" button to open the invitation form.
3. Enter Email Address
In the invitation form:
- Enter the team member's email address in the "Email Address" field
- You can invite multiple people at once by separating email addresses with commas
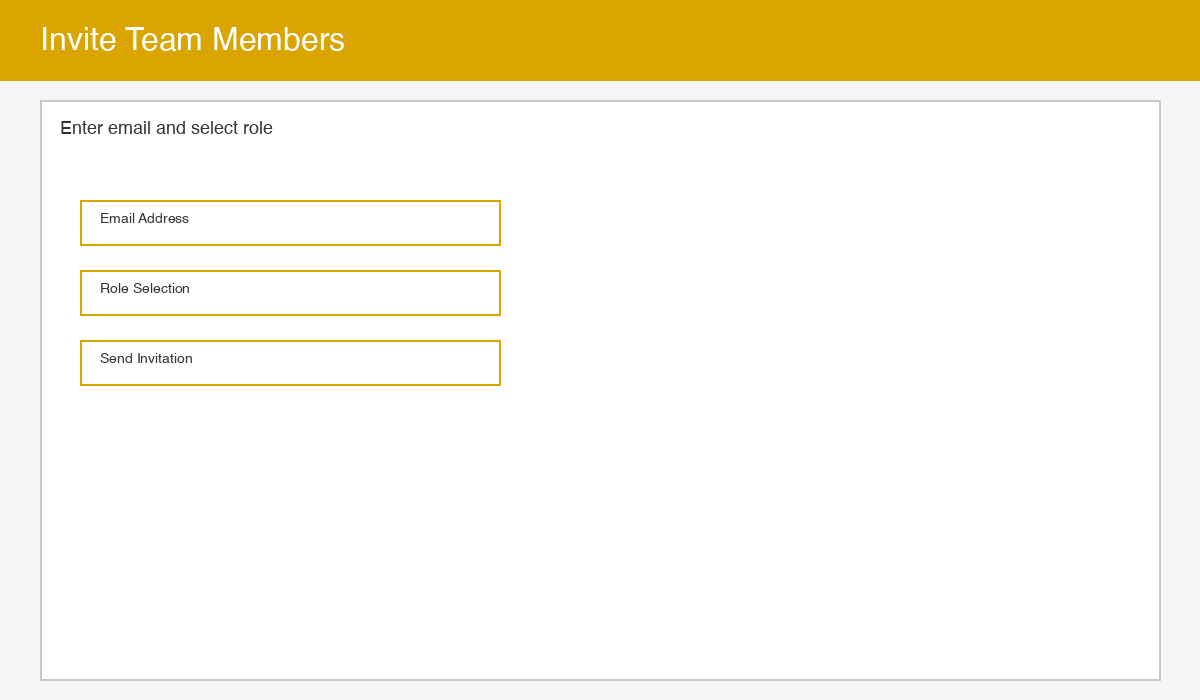
4. Select Role
Choose the appropriate role for the team member:
- Manager — Project leads and coordinators who manage team members and projects
- Translator — Translation contributors who create and edit translations
- Reviewer — QA specialists who review and approve translations
- Viewer — Stakeholders and observers with read-only access
Learn more about roles and permissions.
5. Add Personal Message (Optional)
Include a personal message to welcome the team member:
- Explain why you're inviting them
- Share relevant links or context
- Set expectations for the role
Example:
"Hi Sarah! We're using Wordiy for our translation workflow. I've invited you as a Translator to help with the Spanish translation. Looking forward to collaborating!"
6. Send Invitation
Click "Send Invitation"
The team member will receive an email with:
- Your organization name
- Their assigned role
- A link to join Wordiy
- Your personal message (if included)
- Instructions on how to accept the invitation
What Happens Next
For New Wordiy Users
- They receive invitation email
- Click link in email
- Create Wordiy account
- Accept invitation
- Access your organization
For Existing Wordiy Users
- They receive invitation email
- Click link or go to account settings
- Accept invitation in "Pending Invitations"
- Immediately get access to organization
Managing Invitations
View Pending Invitations
Go to Organization → Members → Pending Invitations
You'll see:
- Invitee email
- Assigned role
- Date invited
- Status (pending, accepted, expired)
Resend Invitation
If someone didn't receive the email:
- Find invitation in Pending list
- Click "Resend"
- They'll get another copy
Cancel Invitation
Before they accept:
- Find invitation in Pending list
- Click "Cancel"
- They won't be able to accept anymore
Invitation Expiration
Invitations expire after 30 days
To add them later:
- Send a new invitation
- They can re-accept if they join Wordiy before expiration
Bulk Invitations
To invite multiple team members:
- Go to Members → Invite Multiple
- Paste email addresses (one per line)
- Select role (applies to all)
- Click "Send Invitations"
Removing Members
If someone should no longer have access:
- Go to Members
- Find the member
- Click "Remove"
- Confirm removal
They'll immediately lose access to:
- All projects in organization
- Organization settings
- Team data
Note: Their translations are preserved for audit purposes.
Inviting Existing Team Members
If someone is already in another organization or project:
- Send them an invitation
- They'll see it in their pending invitations
- They can accept to join your organization
- They'll have access to both organizations
Best Practices
- Clear roles — Make sure invitees understand their role
- Early onboarding — Send welcome materials with invitation
- Gradual access — Start with Viewer, upgrade as needed
- Regular reviews — Check team member status monthly
- Communication — Let team know who's joining
Troubleshooting
Invitation Not Received
- Check spam/junk folder
- Verify email address is correct
- Resend invitation
Member Can't Accept
- Check if they have a Wordiy account
- Verify invitation hasn't expired
- Resend if needed
Need Different Role
- Remove current member
- Send new invitation with correct role
- Or update their role in Members list